| Home
| Newbies Guide | Technical Resources
| Lada Niva Clubs | Niva
Lift Kits | Gallery | Links
|
Gearbox removal.
Translated from Mats
Ahlberg's original ![]()
To remove a gearbox from a Lada Niva
The description below relates to a Niva in 1600 1977-94 but is probably quite useful for most levels, possibly excluding diesel (though even that shouldn't be wildly different).
Tools Required:
·Garage Jacks
·Jack stands
·Normal 1/2" drive and sockets
·Extra long 25cm 1/2" Extension
·Ledhandtag 1/2" (for extra power)
·Normal blocks key rate
·Screwdrivers
·Or crowbar
·WD40 or similar
·Fluorescent Lamp
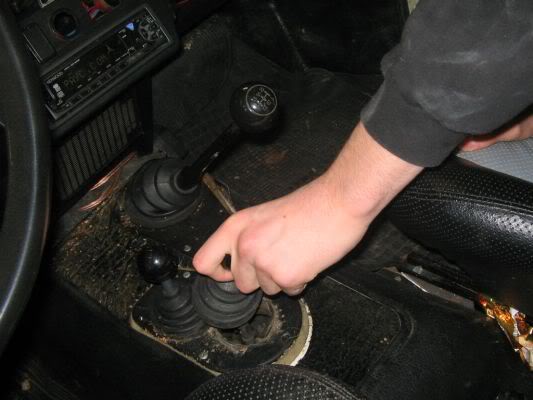
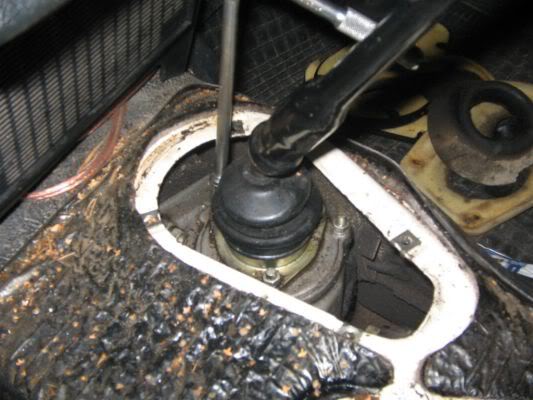
1 Start by picking up the intensity in the front and place it on two jack stands at the time of jack mounts that they will not be getting in the way later. Lift as high as possible, it makes it easier later on. Then start inside the car by removing the cover over the gear levers
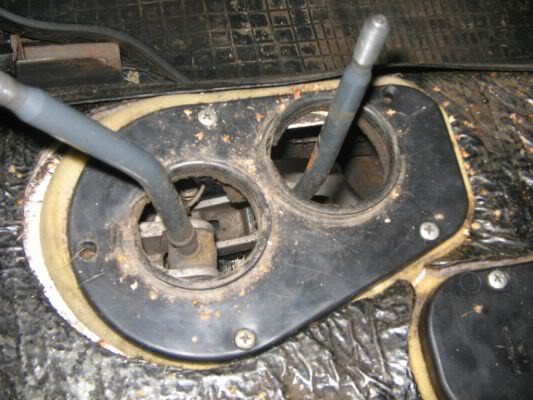
2 Below this you will find two small lids agrees gaiters. Unscrew the knobs and pulling the gaiters. Note which holes the screws are in and those to be empty. Or check here:
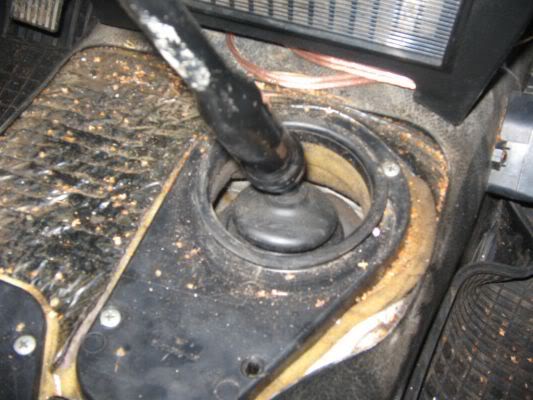
3 We continue inside the car by loosening the three EXTERNAL M6 nut holding the gear lever. The three internal must NOT be touched - if you loosen those screws from falling down in the box and it is no fun at all. So, aluminum lid is up, not just metal triangle. When the three outer is unloaded, check once more that the box is in neutral and then pull the lever out of the box. Press one lase in the hole to keep out small birds and mice.
4 In the rear hole, where low-and high diffspärrspakarna comes up, we also find contacts for diff-lock light on the instrument panel. Remove the connector plugs.
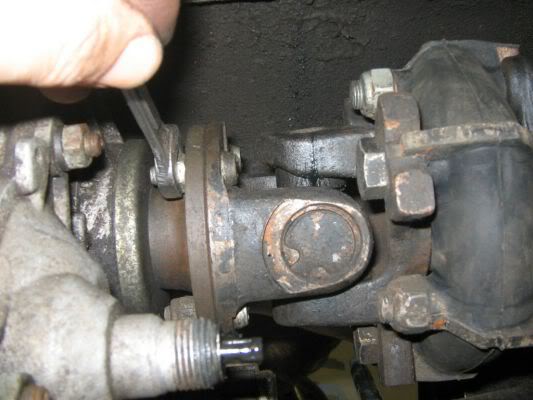
5 In the car we now pick out any skid, anti-roll bars and other scrap metal. After that we loosen the front and rear propeller shaft from the distribution box. The front must be removed completely while the rear can hang. It is recommended to tie it to get it out of your way.
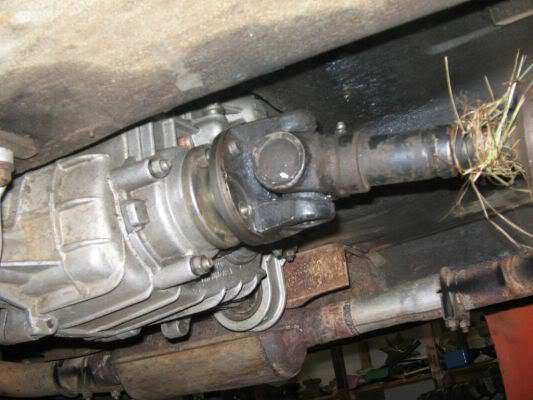
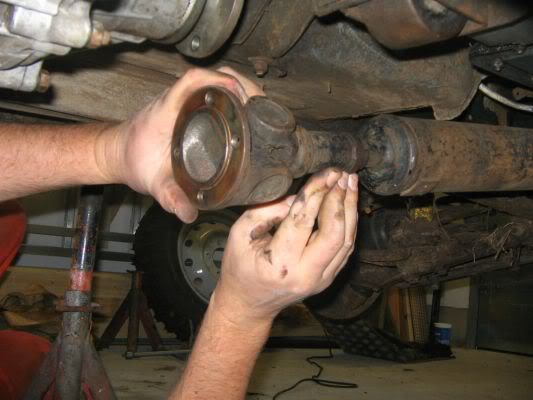
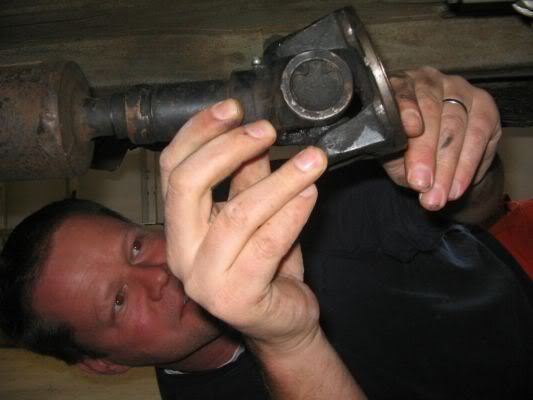
6 Now is the time to share mellaxeln passing between transmission and distribution box. There sits an ordinary universal joint and I think it's easiest to split there.
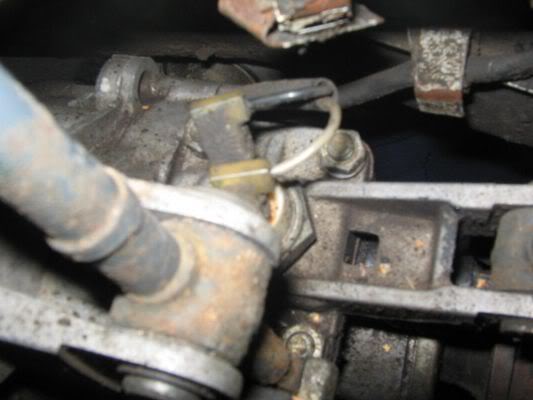
7 By the way, just as well to loosen the reversing light switch on the right side where we're at it.
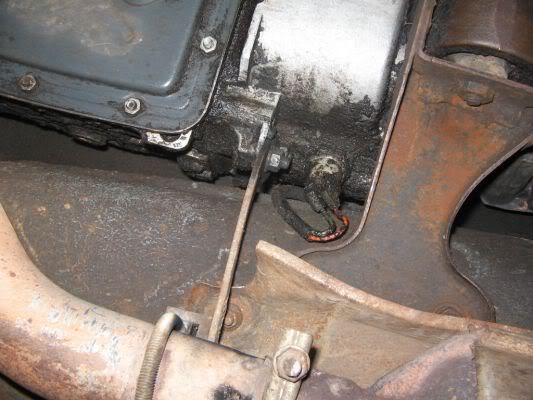
8 Clutch slave cylinder removed with two M8 bolt and a spring. Remove any hoses. Let it hang just a bit to the side. Hastighetsmätarwiren released and binds to the side, be careful little tray!
9 Now it may well be time to lower the distribution box - supported by the jack and remove the four M8 nuts holding upphängningsgummina. Lower the distribution box.
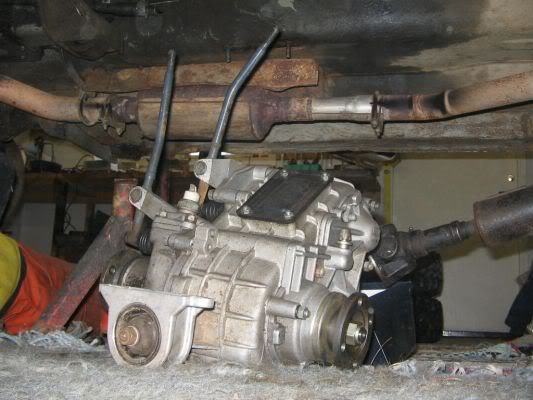
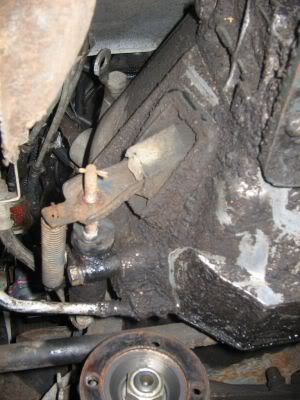
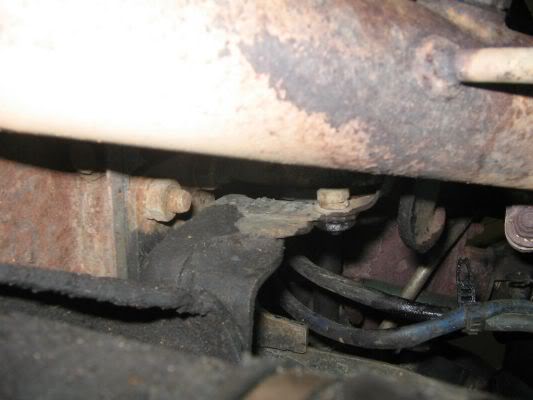
10 In the background is the catalyst, it is in the way of växelådans rear bracket and must be dismantled. Even the heat shield must be removed.
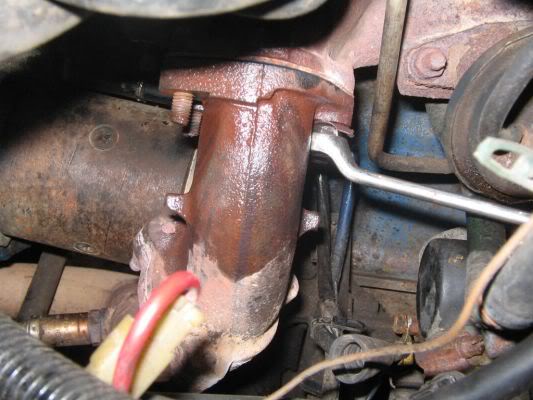
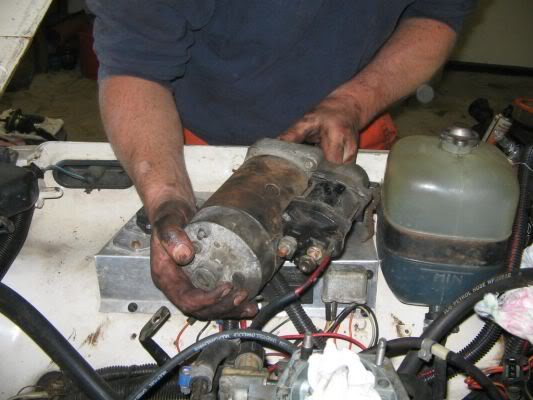
11 Star engine is screwed through the clutch cover and the screws must be removed. You can choose to have the start "hanging" in the engine room, but why not take the opportunity to clean and lubricate it. If you want to remove the start it is 100 times easier if you loosen the exhaust pipe and turn it aside. After that it is a piece of cake to loosen the star's heat shield and lifted it right up.
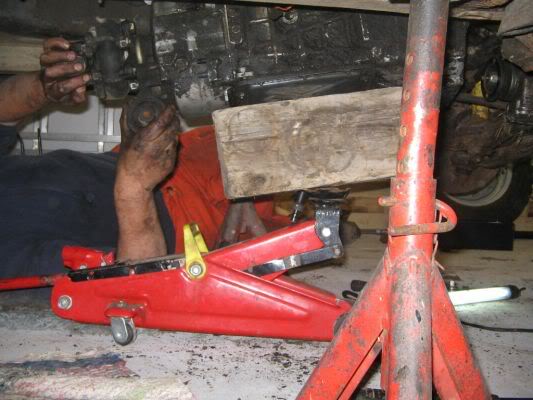
12 Time to crawl under again and remove the plate that protects the lower part of the flywheel. It sits with four M6-or unloaded and when the plate is free on the low side, which is enough for our needs.
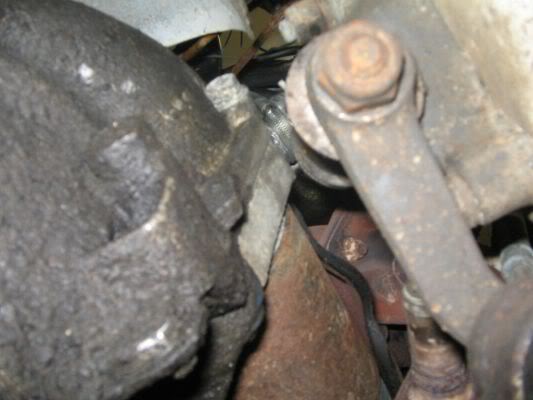
13 We now garagedomkraften rigs in the gearbox oil sump, which support and security. As we loosen the 19mm collar with the four large bolts holding together the clutch cover with the engine block. The bottom two are easy. The upper left yesterday with the combination of sleeve-universalled-kortförlängare-långförlängare-ledhandtag.
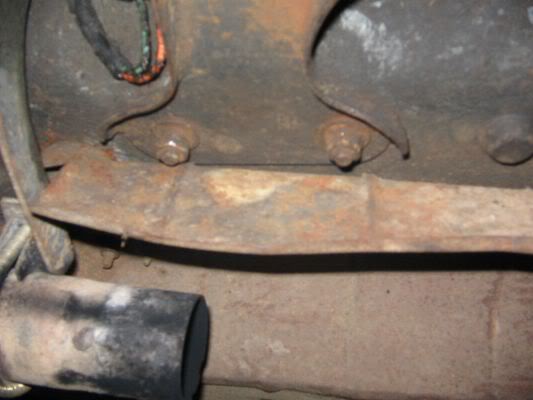
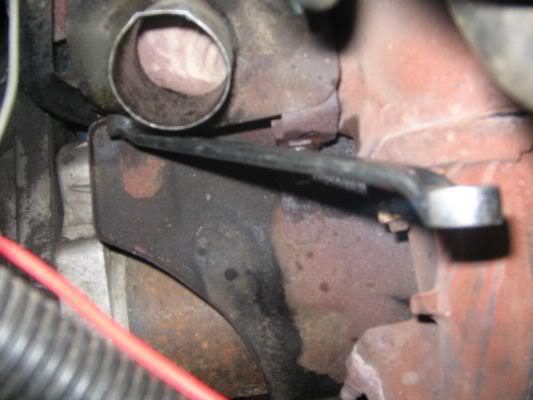
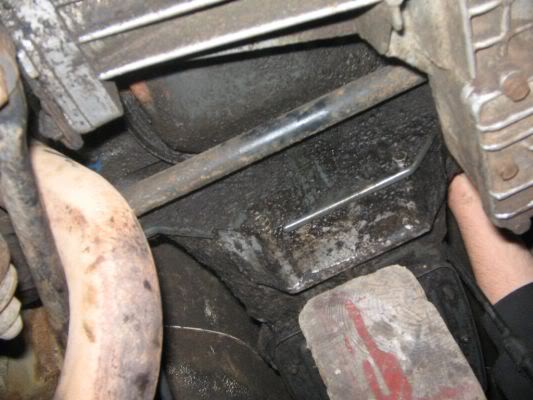
14 The most troublesome is the upper right. Start by loosening the bolt that goes through the rear växellådsgummit. Then loosen the small transverse beam rear växellådsupphängingen sat in. Forcing gearbox then left with a mild violence and a crowbar. Kila with a piece of wood. Now you've got a bit more leeway to access the last bolt. Take the extra 25cm extender and targeting the whole package (which is now the next is one meter long) to the last bolt.
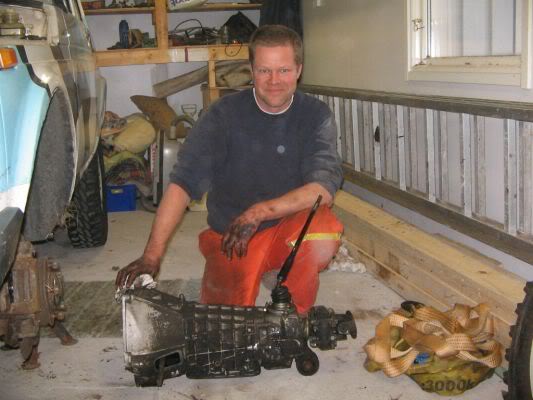
15 Now everything has to be unloaded. Check that the jack support without lifting. With gently coaxed, we can now share the engine from the clutch cover and while reducing the drag us backwards until free from input shaft.

16 Sucess! Three hours and it took a bit later, it was not roughly cleaned and prisoner in the basement for renovation!
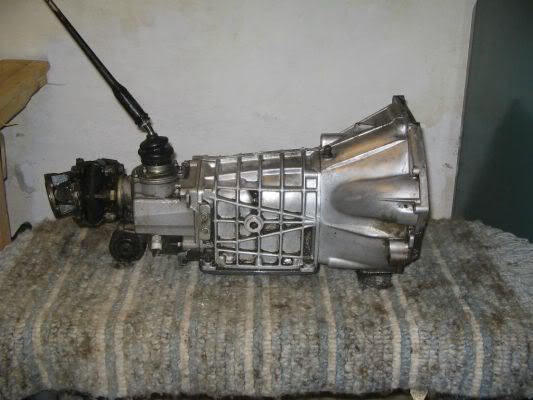
Diagnosing & Rebuilding the Gearbox
Gearbox Removal (Huffman)

| Home | Newbies Guide | Cloggy's DOHC | Lada Niva Clubs | Niva Lift Kits | Gallery | Links |
Please read the General Disclaimer near the bottom of this page